Price: ₹799 - ₹388.00
(as of Oct 22,2024 22:53:24 UTC – Details)

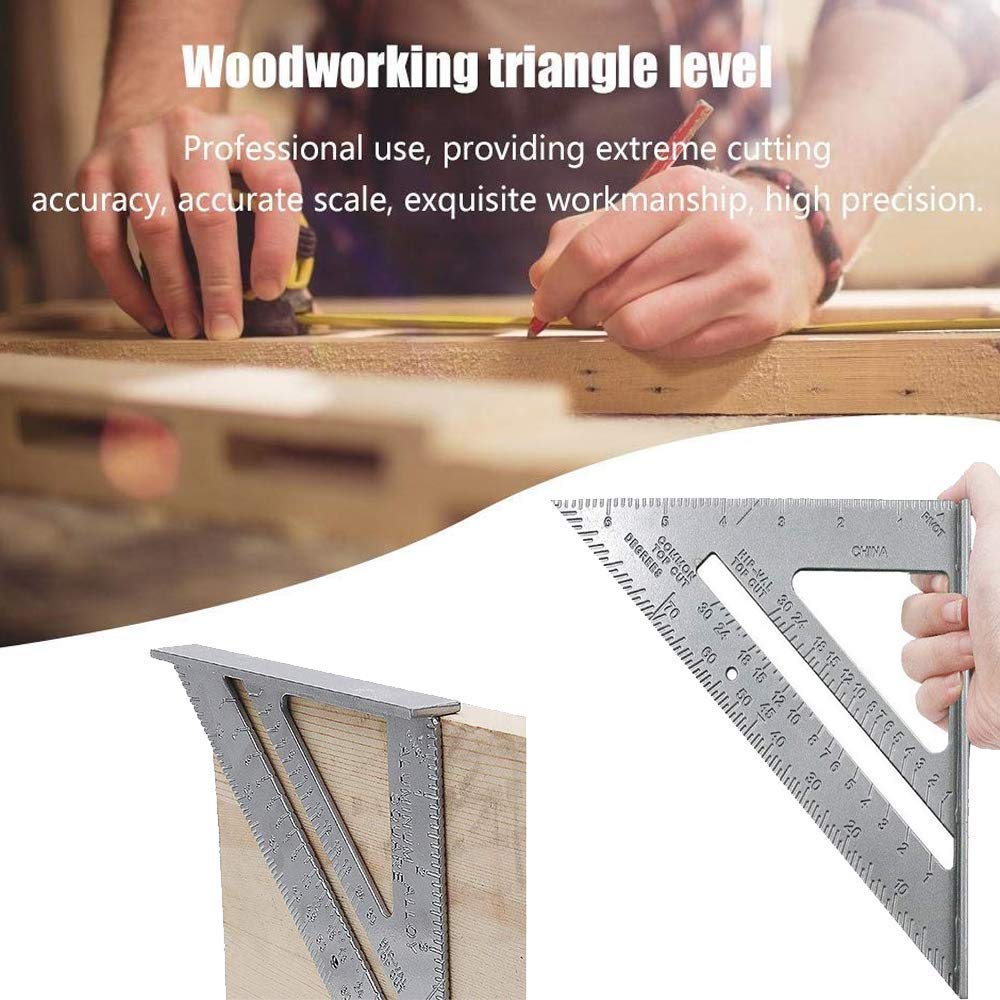
How to Use a Rafter Square The Rafter Square, or Speed Square, does more than mark perpendicular lines. Here’s how to make sense of all the numbers on your square and get the most out of this tool. 1 Lay out a miter Place the square with its fence on the top edge of the lumber [1]. Locate the desired angle on the hypotenuse side of the square, and pivot the tool until that angle’s notch lines up with the top edge of the lumber [2]. Scribe along the square side of the tool [3]. 2 Lay out a plumb cut on a rafter Locate the desired roof pitch on the Common Top Cuts table of the tool’s slot [1]. For example, for a 7:12 roof pitch, locate the No. 7 notch and pivot the tool until that notch lines up with the top edge of the lumber [2]. Scribe along the square side of the tool [3]. 3 Lay out a tail cut or a bird’s mouth notch on a rafter Begin by laying out a plumb cut [1]. Locate the marks toward the point of the tool, and position them so they align with the plumb cut [2]. Mark the seat cut along the hypotenuse side of the tool [3]. 4 Lay out an end cut on a collar tie or the bottom chord of a truss Place the square with its fence on the top edge of the lumber. Make a mark at the desired pitch on the Common Top Cuts table [1]. Pivot the tool until its square side lines up with the mark [2], and scribe a line [3]
Incorporates features of framing square, tri square, mitre square, and protractor square
Sturdier than typical L-shaped framing squares
The ruler has a clear scale, wear-resistant and non-fading, and can be used for a long time.
The ruler is easy to carry and can be placed in the pocket, suitable for architectural design, home carpentry, outdoor work, DIY enthusiasts, etc.
made of high-quality aluminum alloy, 7-inch triangle ruler and thickened treatment, high hardness, durable.


